Disney BSDF
The feature "15.5 - Disney BSDF" adds a more advanced BSDF where we can use a set of parameters to customize the BSDF to produce a specific output. The graded 5 parameters are metallic, specular, roughness, sheen and sheen tint. However, I decided to add specular tint, subsurface, clearcoat and clearcoat gloss as well.

Implementation
For the implementation of this feature, I mostly followed the contents of the paper and the corresponding reference implementation by Walt Disney Animation Studios of the BRDF explorer.
In the eval method, we evaluate the BSDF for the two given directions wo and wi. I decided to implement 9 parameters, metallic, specular, specular tint, roughness, sheen, sheen tint, subsurface, clearcoat and clearcoat gloss. The eval method calculates three different terms, the diffuse term, specular term and the clearcoat term. The parameters that contribute to the diffuse term are the base color, metallic, subsurface, sheen and sheen tint. Using the Schlick Fresnel weights, described in the paper, we can linearly interpolate between the different contributions. For the specular term and the clearcoat term, we need to use the Generalized Trowbridge-Reitz distribution (GTR) to describe the specular lobe. For the specularity we use GTR2 and for the clearcoat we use GTR1. Both of these distributions have been implemented in the warp class, as we need to be able to get the respective PDF and sample according to the distribution. For the sampling and the pdf for GTR1 and GTR2 I consulted the implementation of PBRT-v3. The pdf is essentially cosine-weighted version of the GTR1/2 methods, and the warp test shows that my sampling and pdf methods are matching. For the sampling of the different parts (diffuse, specular and clearcoat) I use a heuristic to decide the probability thresholds using the defined parameters. I have not found which probabilities are generally used. Therefore, I experimented with a few different options and chose the ones that produced results which are close to Mitsuba.
As I already implemented the Images as Textures feature, I decided to provide the ability to use a specular and roughness map using an image for the specular and roughness parameters.
Usage:
<bsdf type="disney">

                             <texture type=".." name="albedo"> ... </texture>

                             <color name="basecolor" value="0.012 0.239 0.282">

                             <float name="metallic" value="0.0"/>

                             <texture type="image_texture" name="specular"> ... </texture>

                             <float name="specular" value="0.5"/>

                             <float name="specularTint" value="0.0"/>

                             <texture type="image_texture" name="roughness"> ... </texture>

                             <float name="roughness" value="0.5"/>

                             <float name="sheen" value="0.0"/>

                             <float name="sheenTint" value="0.5"/>

                             <float name="subsurface" value="0.0"/>

                             <float name="clearcoat" value="0.0"/>

                             <float name="clearcoatGloss" value="1.0"/>

                            </bsdf>
The following files have been modified or added to implement this feature:
- src/disney.cpp
- include/nori/warp.h
- src/warp.cpp
- src/warptest.cpp
Validation
To validate the textures, I rendered spheres in Nori and Mitsuba using the direct and path integrator to see whether I get the same results when using the same parameters.
Comparison to Mistuba - Direct Integrator
For each parameter, I generate several spheres where all parameters except 1 are the same.
Diffuse - Path - Brightness difference
I would like to remark here that for the path integrator, our version is slightly brighter than Mitsubas version, which only happens when using point lights. This has nothing to do with this feature and therefore I will ignore it in the comparisons below. Here is a side-by-side comparison of a diffuse surface using path_mis:


All parameters except the lower roughness values produce good results which also match with Mitsuba. However, my results seem to be slightly more noisy than Mitsubas results. For low roughness values, I assume that the sampling probabilities are not ideal. I was not able to figure out how to fix it. Additionally, we can also see some differences in the clearcoat parameters. However, as clearcoat is a non-graded parameter and because of time issues, I did not further investigate how to fix that.
Metallic - Direct


Metallic - Path

Specular - Direct


Specular - Path


Specular Tint (not graded) - Direct


Specular Tint (not graded) - Path


Roughness - Direct


Roughness - Path


Sheen - Direct


Sheen - Path


The difference of the sheen parameter is very subtle. Therefore, I provide additional comparisons between sheen 0 and sheen 1.


Sheen Tint - Direct


Sheen Tint - Path


The difference of the sheenTint parameter is also very subtle. Therefore, I provide additional comparisons between sheenTint 0 and sheenTint 1.


Subsurface (not graded) - Direct


Subsurface (not graded) - Path


Clearcoat (not graded) - Direct

Clearcoat (not graded) - Path

Clearcoat Gloss (not graded) - Direct

Clearcoat Gloss (not graded) - Path

Additional Results
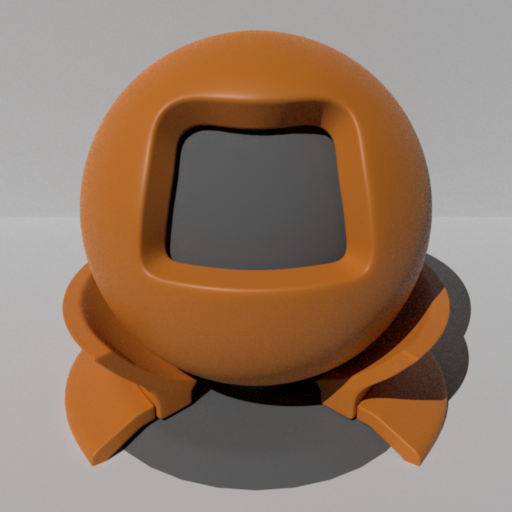
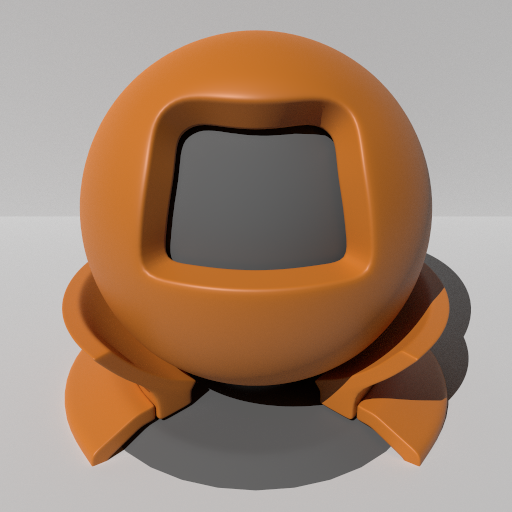
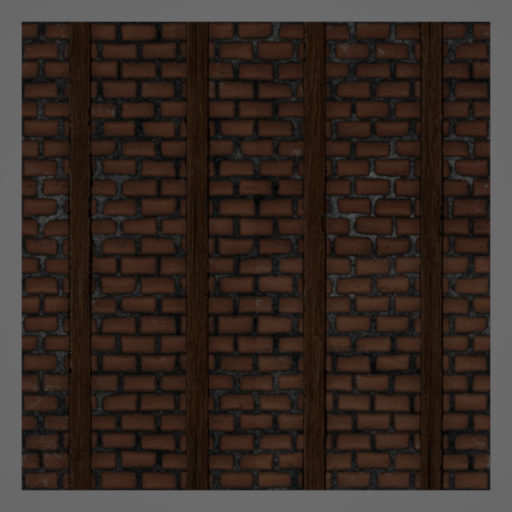
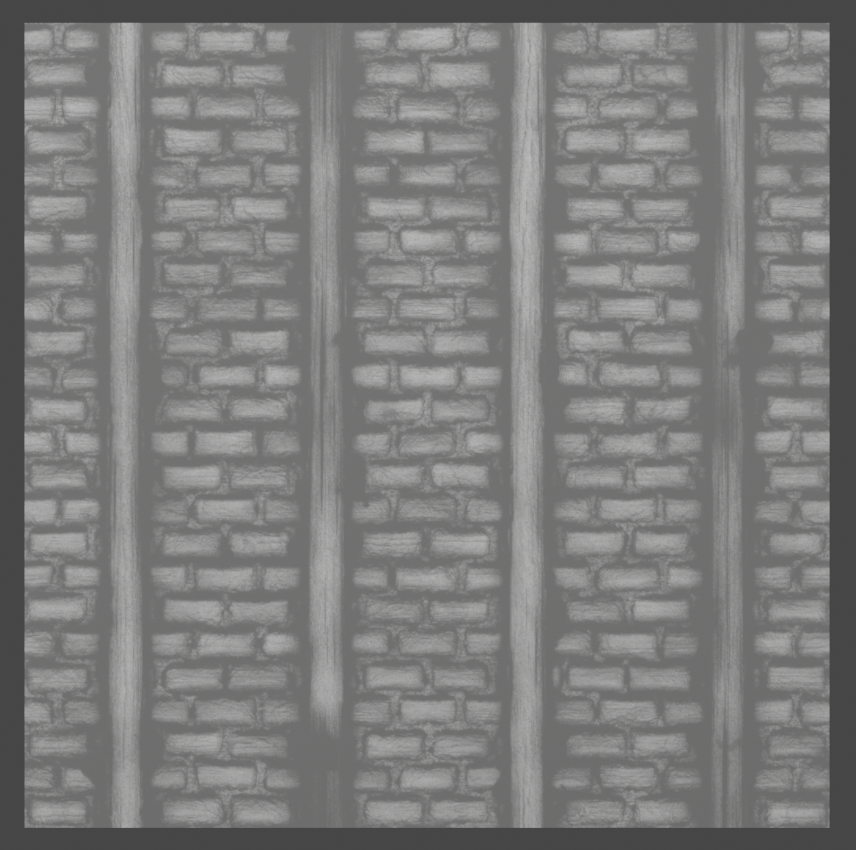
Roughness Map
Here I added to a metallic plane a roughness map with this brick texture. I did not do a side-by-side comparison with Mitsuba, but the result looks similar to the render in Blender (see screenshot below the comparison).

Roughness Map applied to plane using Blender
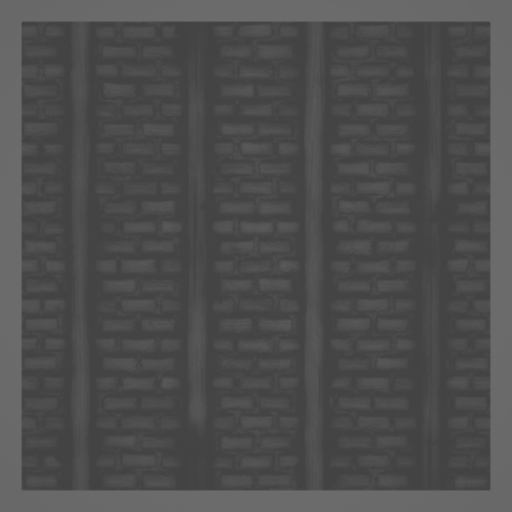
Resources
The brick wall texture and roughness map are from here.

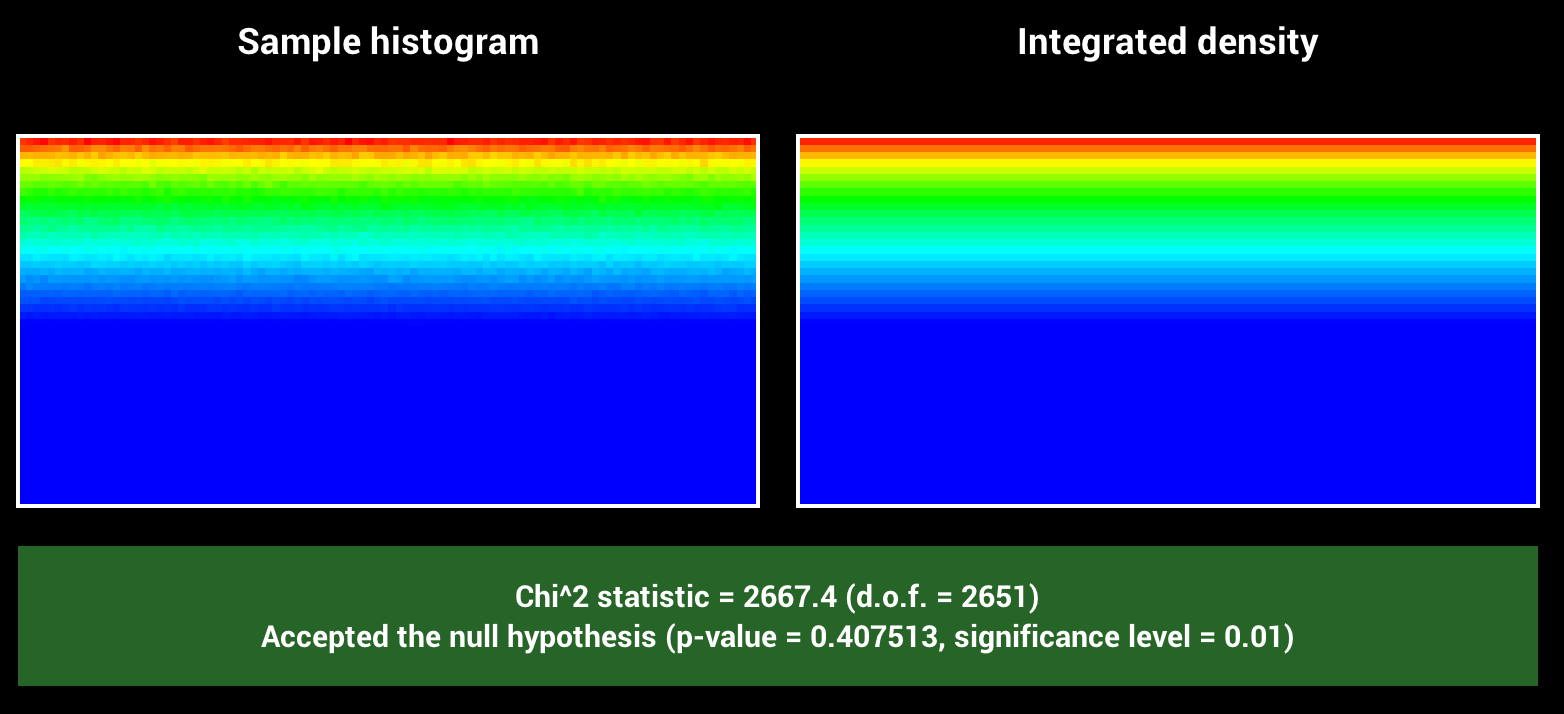
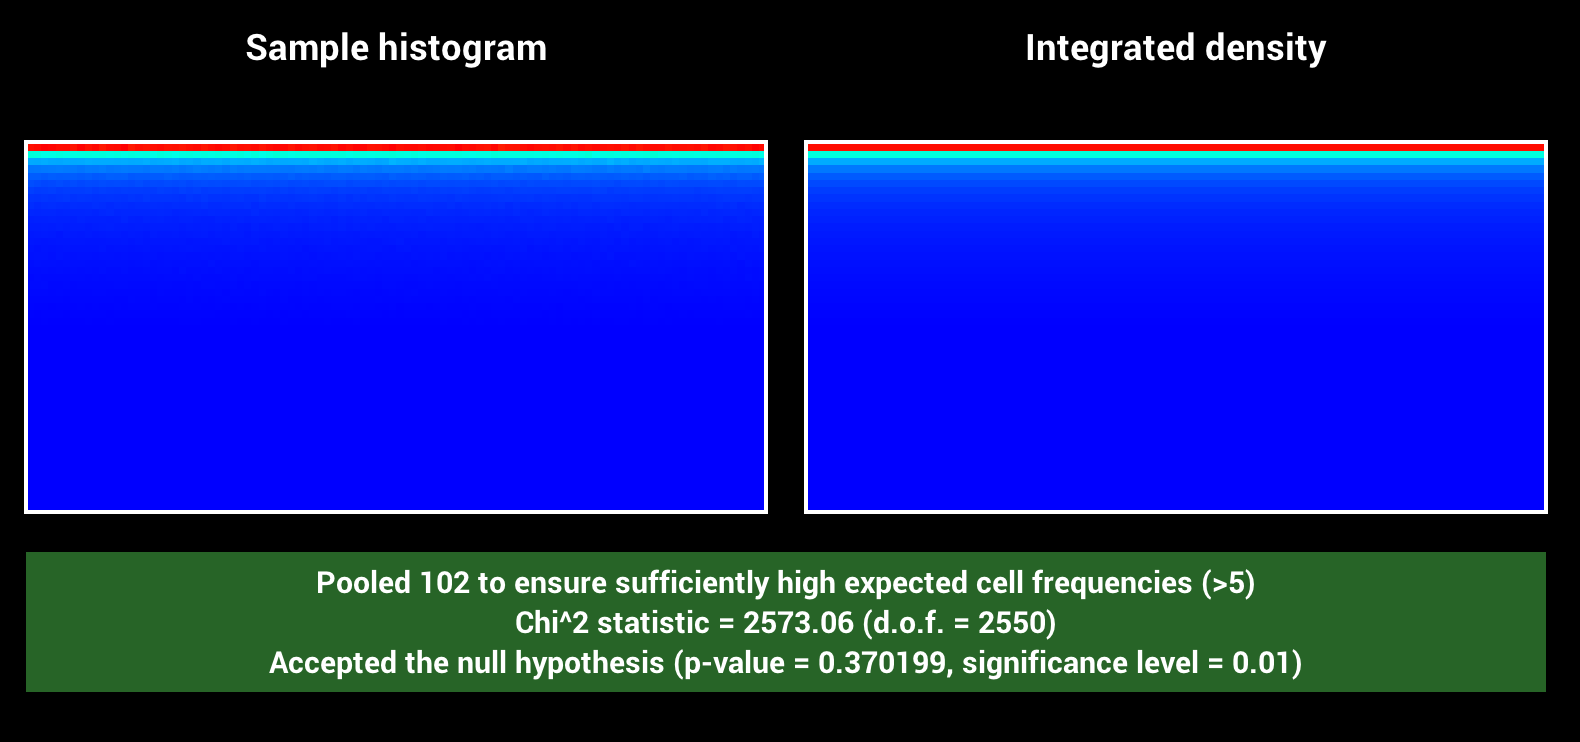
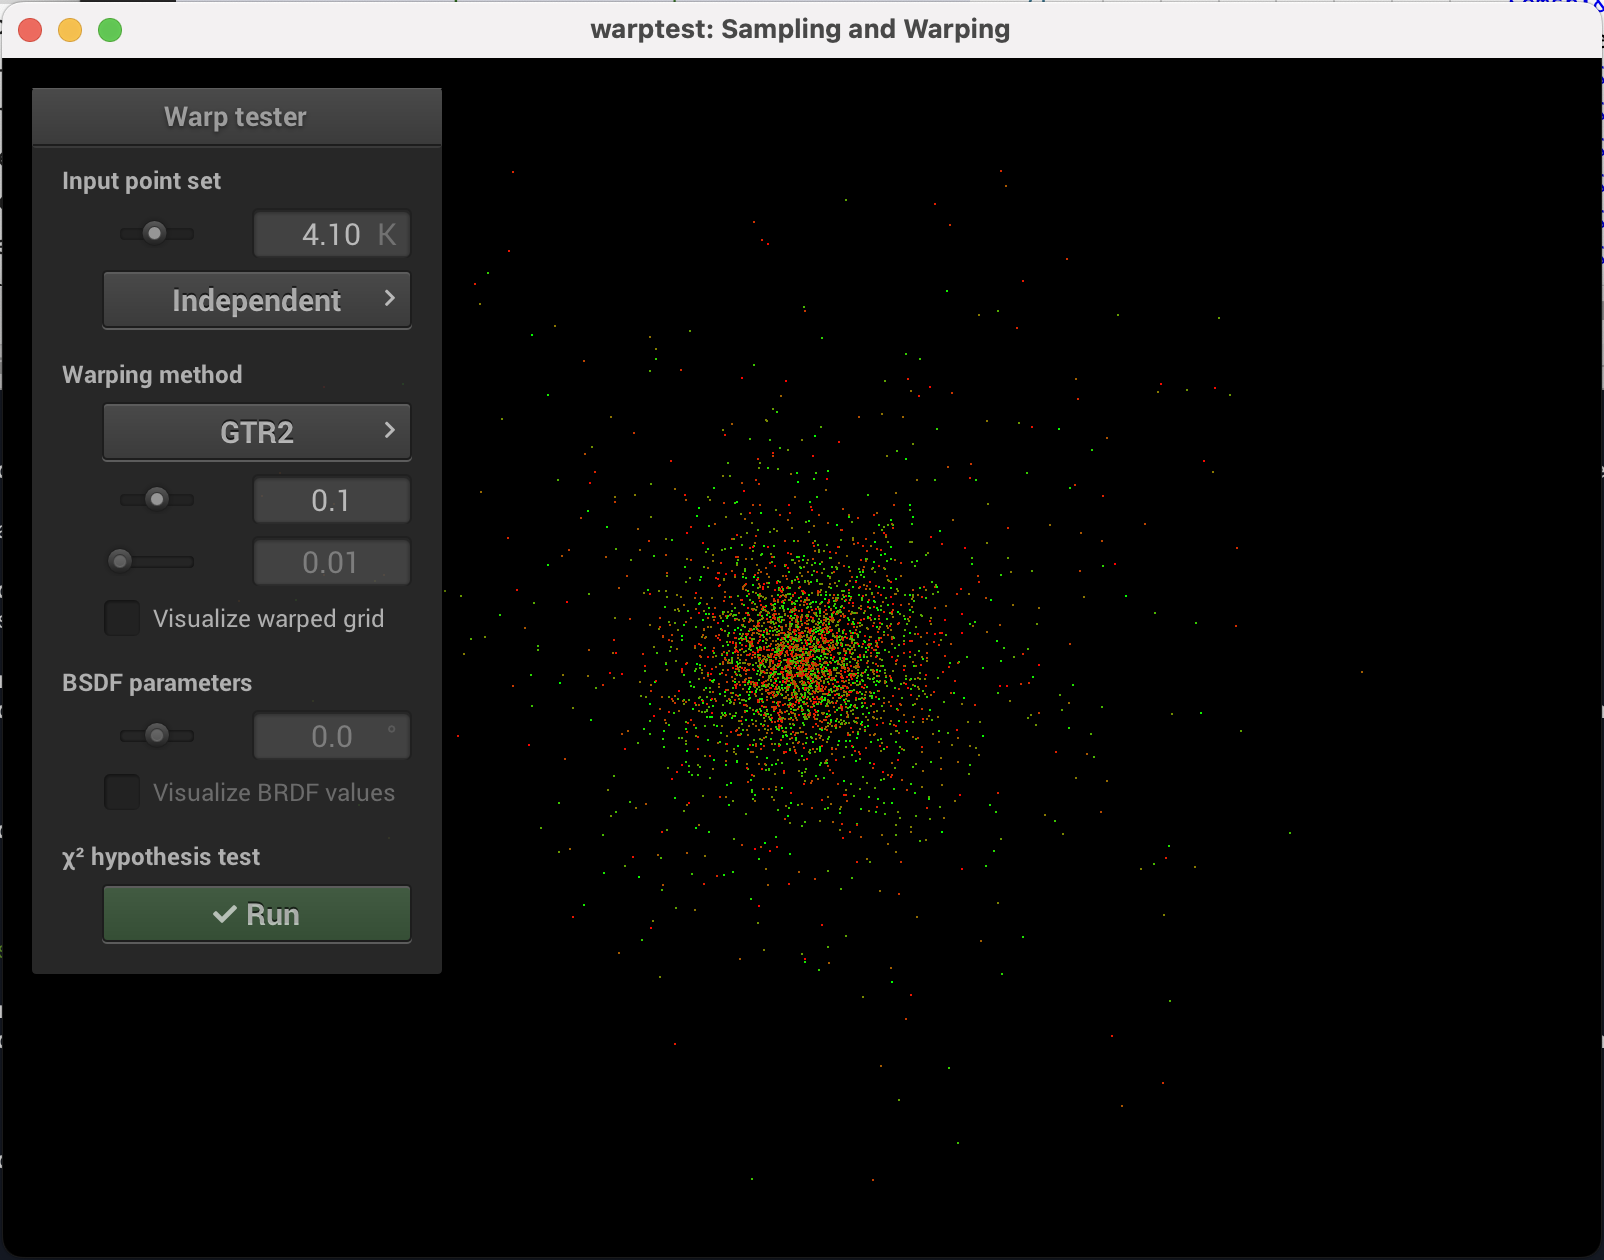
Warptest
Here are some screenshots showing that GTR1 and GTR2 pass the provided warptest.
GTR1
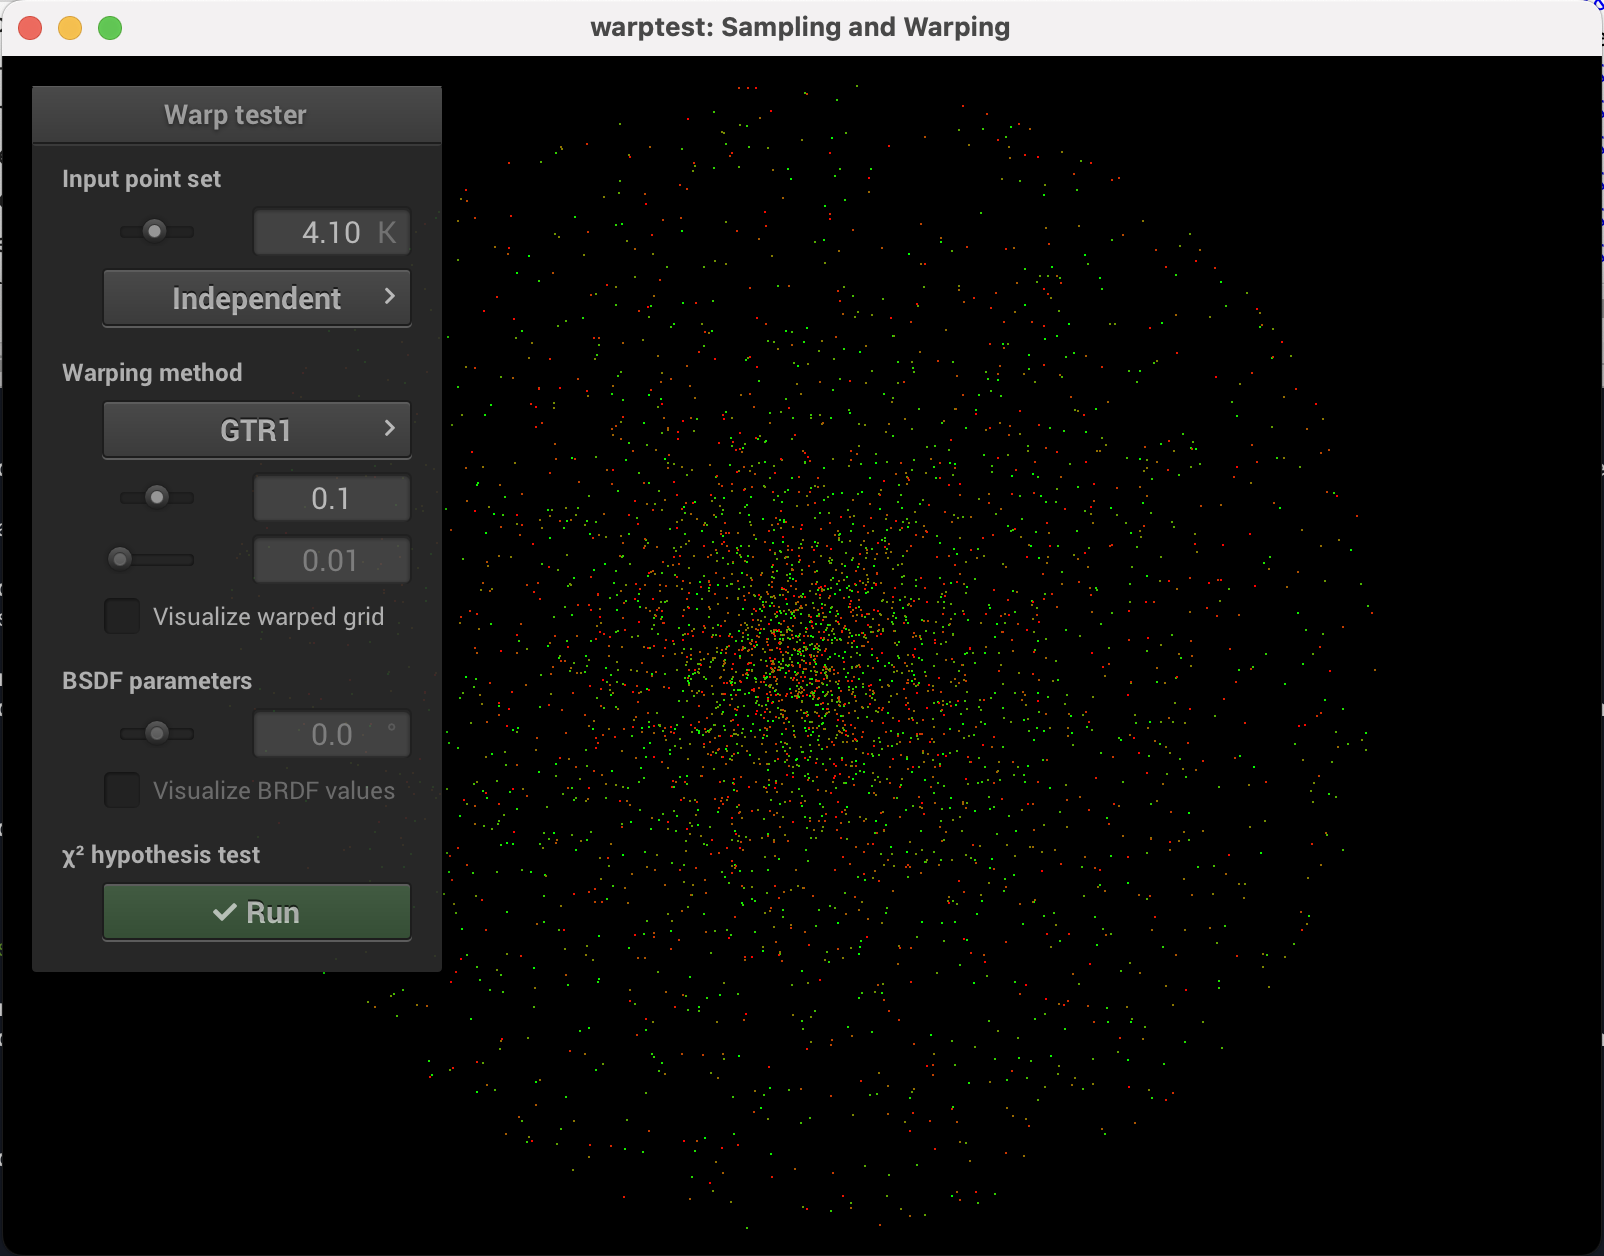
alpha = 0.1
alpha = 0.9
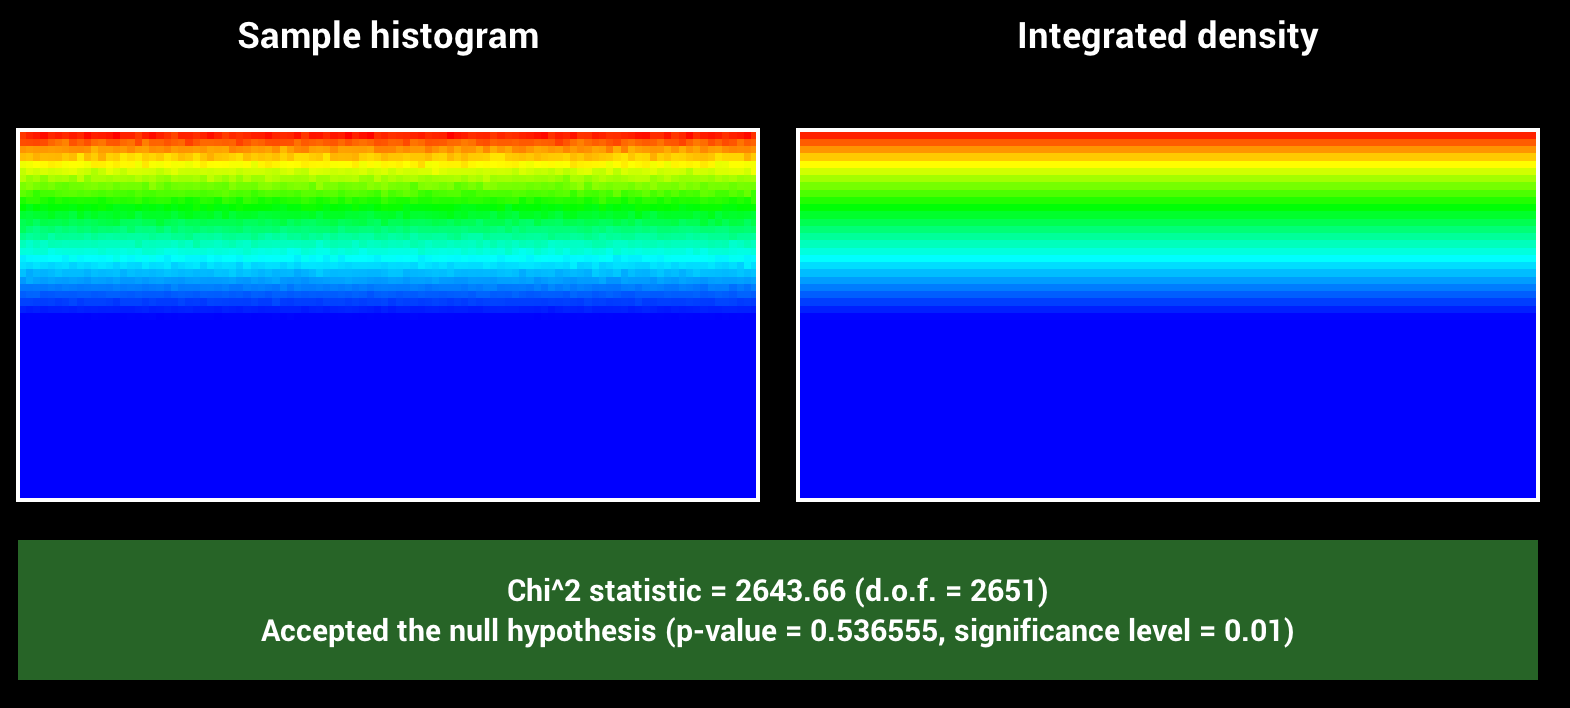
GTR2
alpha = 0.1
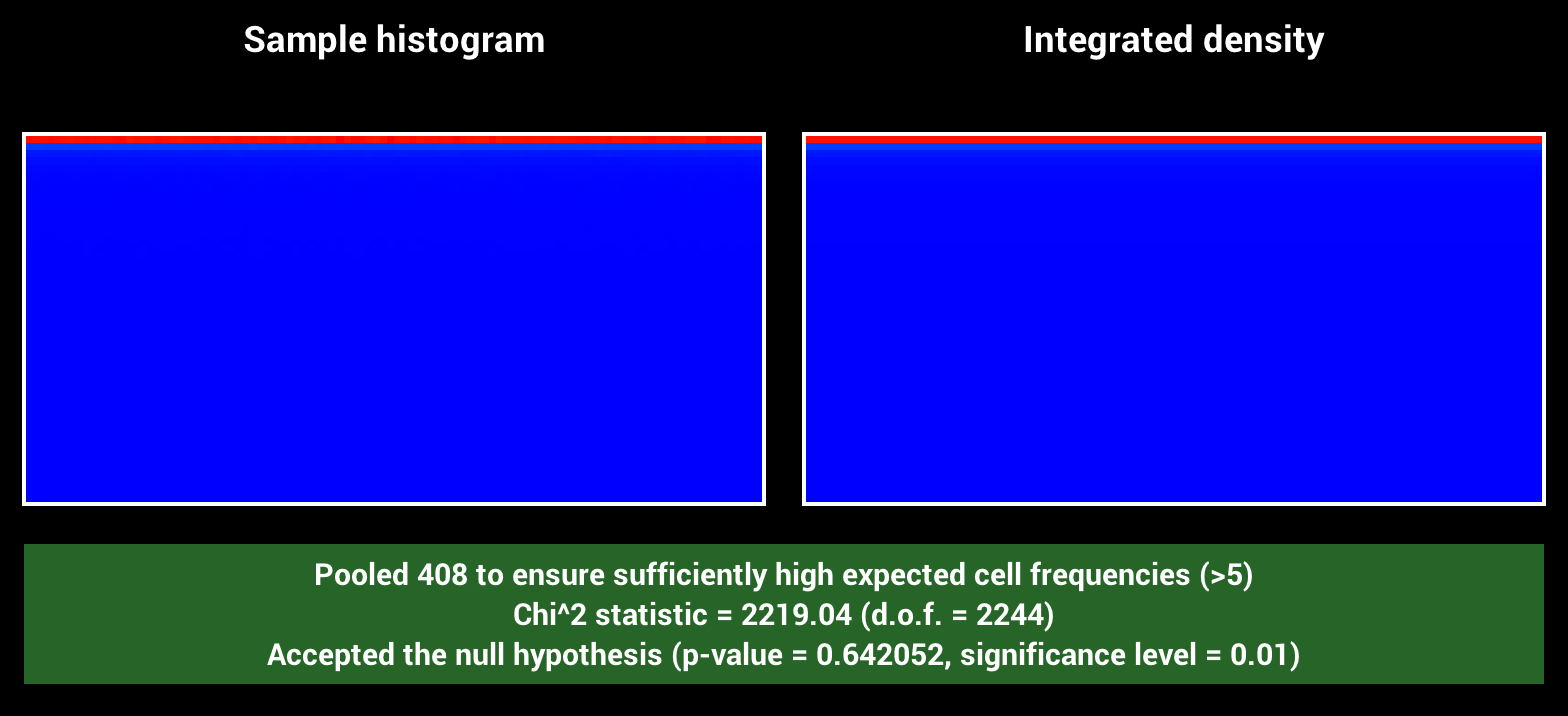
alpha = 0.9